Server Installation
Suggested Reading: Ubuntu Installation Guide
Prepare Installation Media
Boot Installation Media
OS Installation
The installation takes about 40 minutes. Depending on your hardware, installation media (USB stick, CD-ROM) and internet connection.
Step 1 of 24: Select language during installation:

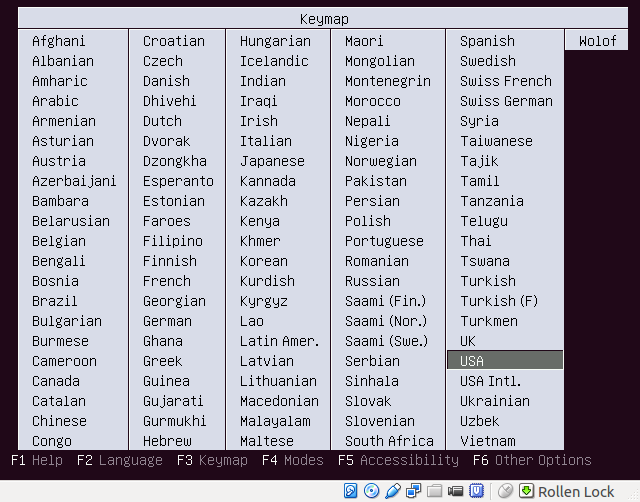
Step 2 of 24: Select keyboard layout:
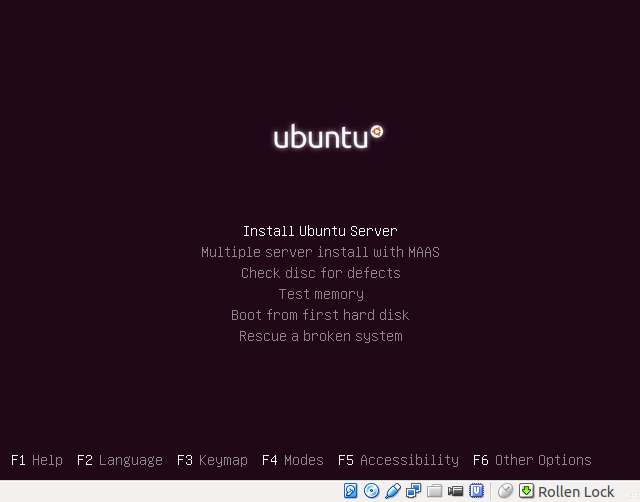
Step 3 of 24: Start installation:
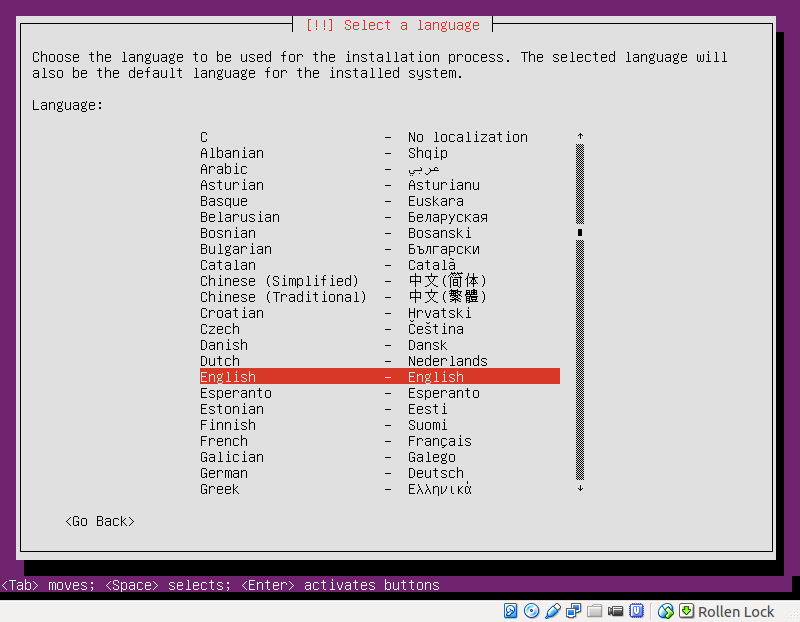
Step 4 of 24: Select installation language:
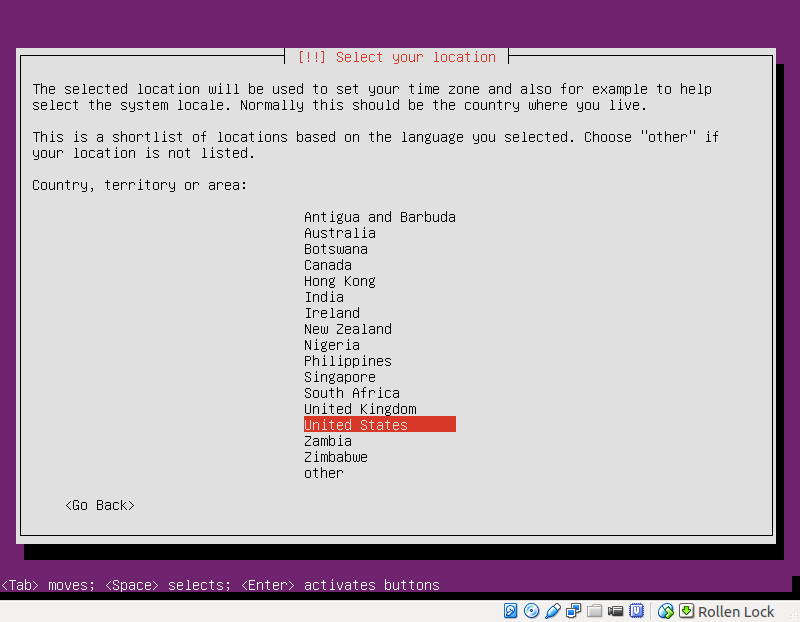
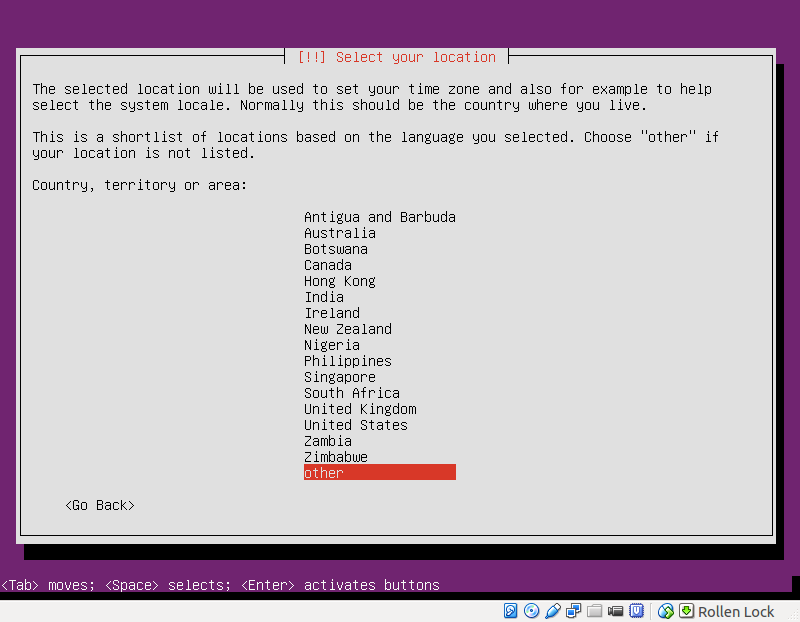
Step 5 of 24: Select location:
Step 6 of 24: Optional Select other location:
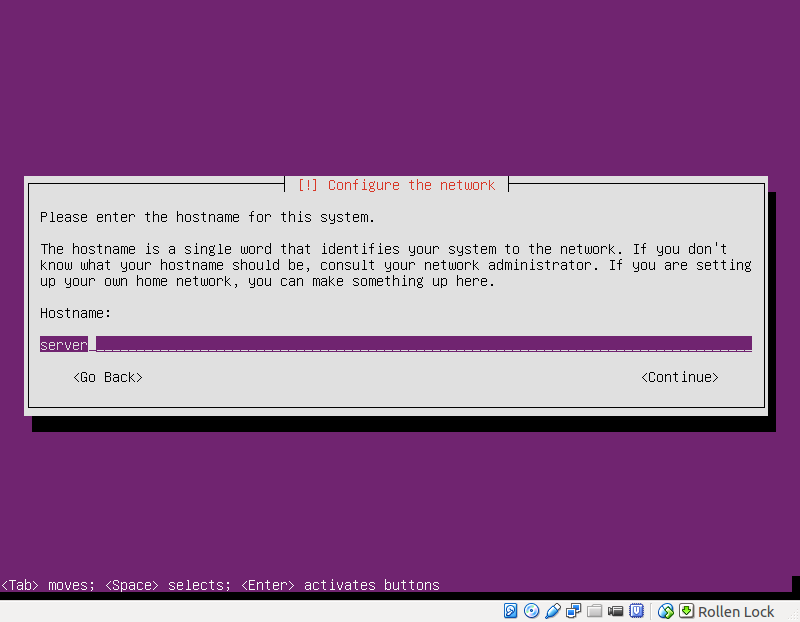
Step 7 of 24: Give the server a name:
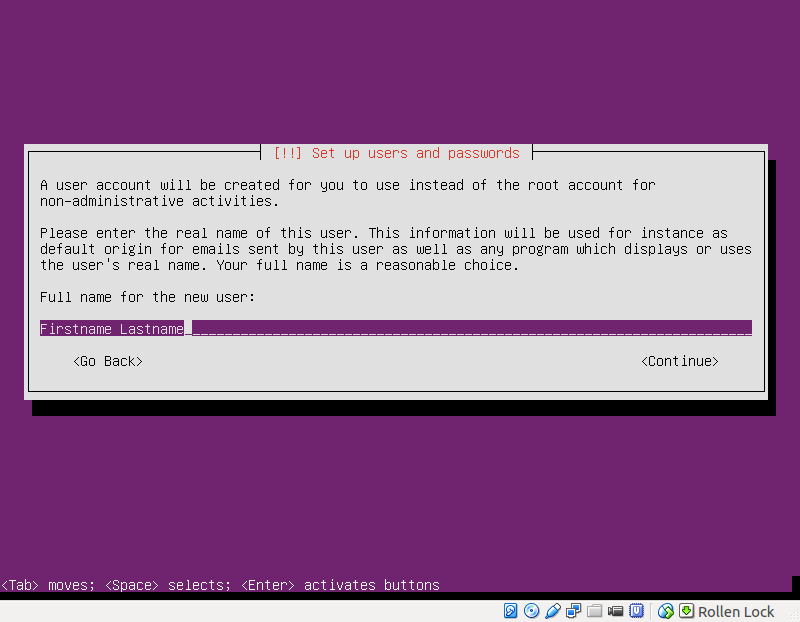
Step 8 of 24: Enter your full name for the user profile:
Step 9 of 24: User profile name for login on the server:
Use the same username as on your desktop computer.

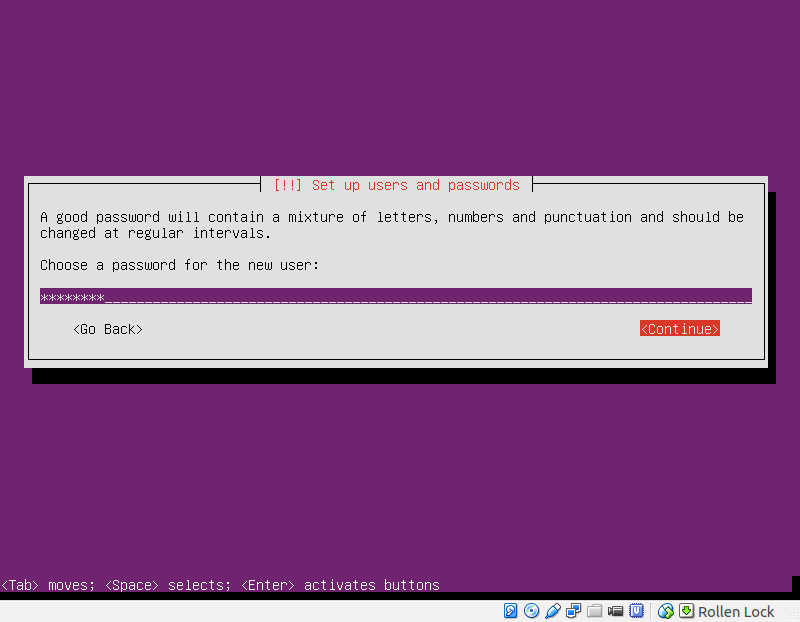
Step 10 of 24: Password of user your profile on the server:
Don’t use the same password as on your desktop system. Select a different password on every system.
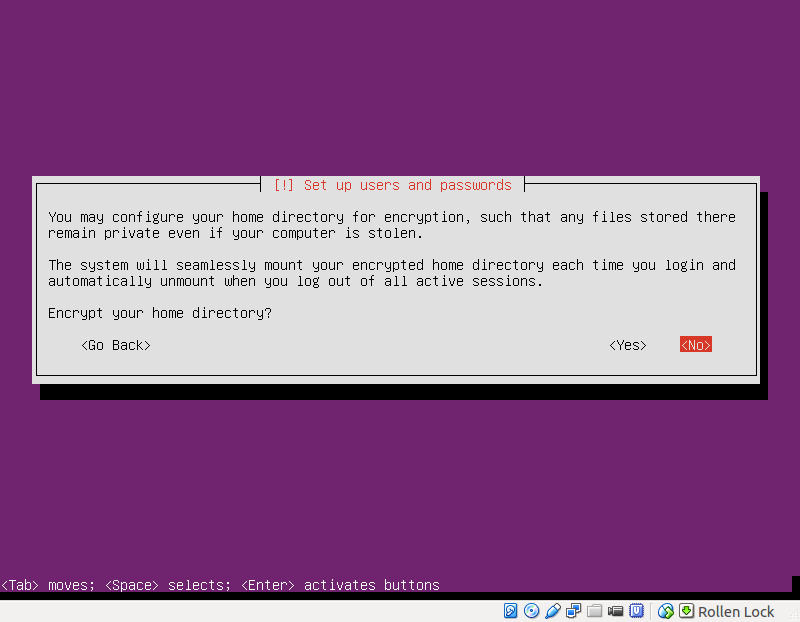
Step 11 of 24: Home directory encryption:
Don’t encrypt your home directory on the server. There will be no gain, but much pain. Your account on the server, will only be used for server-administration and you will never store any documents or data containing personal information there.
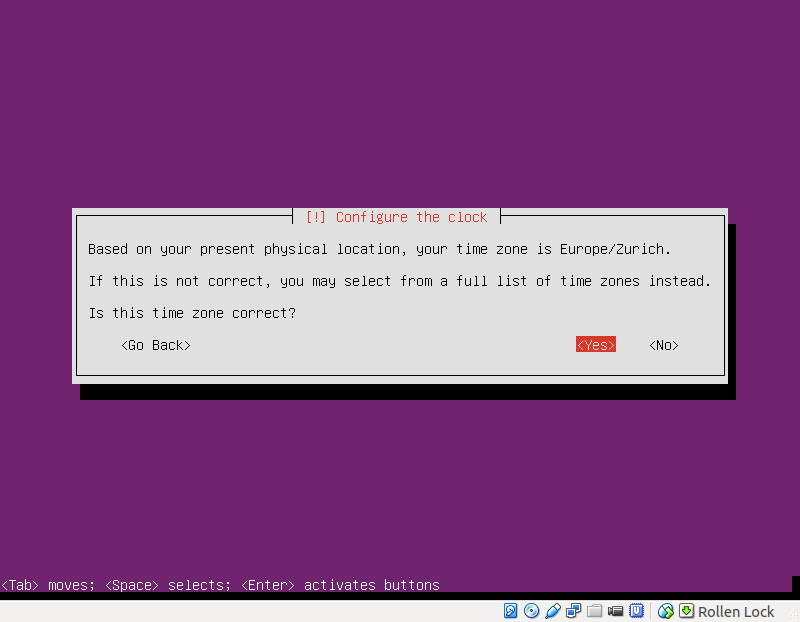
Step 12 of 24: Confirm timezone:
Step 13 of 24: Select how to prepare the hard-drives:

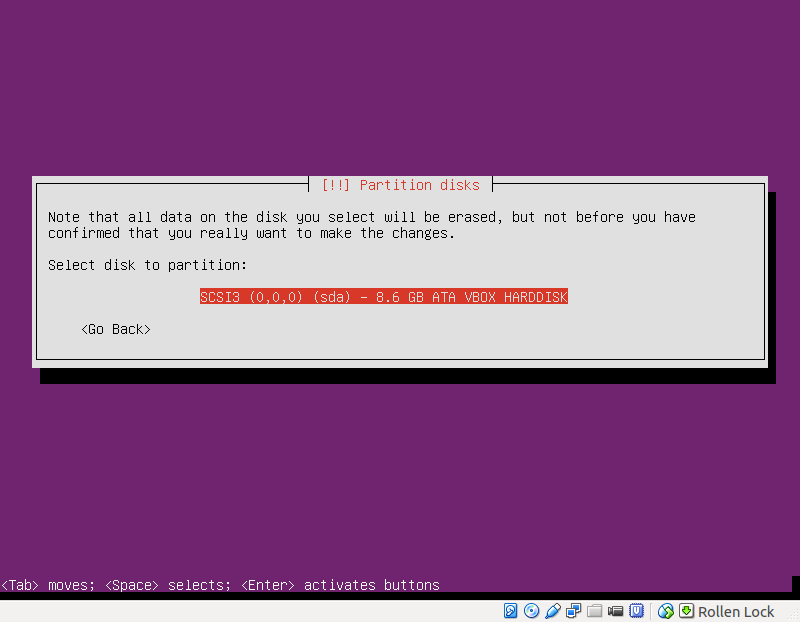
Step 14 of 24: Select the hard-drive for installation:
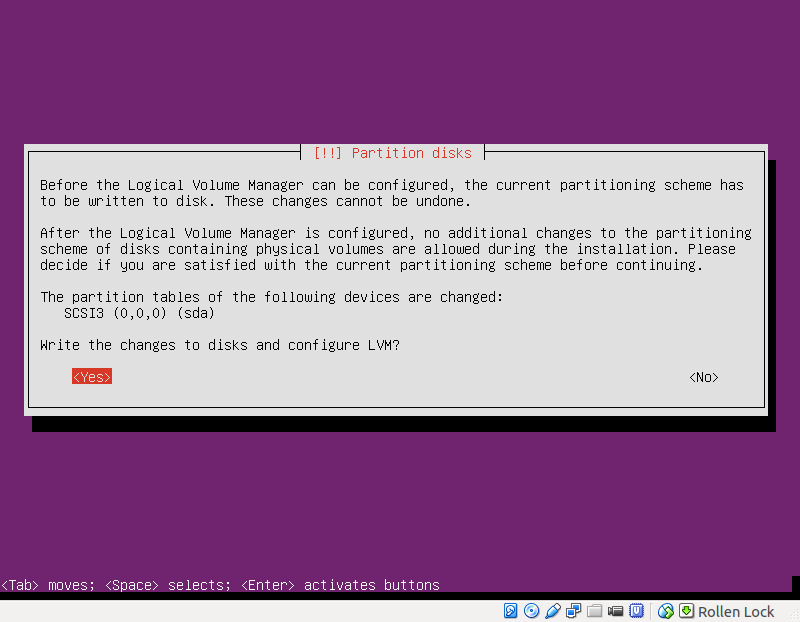
Step 15 of 24: Confirm partitioning of disk:
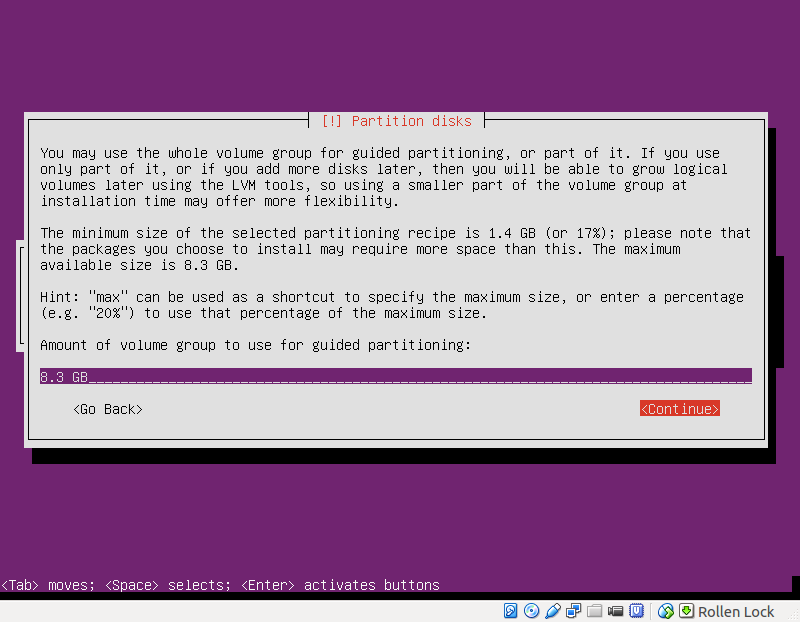
Step 16 of 24: Set disk space used:
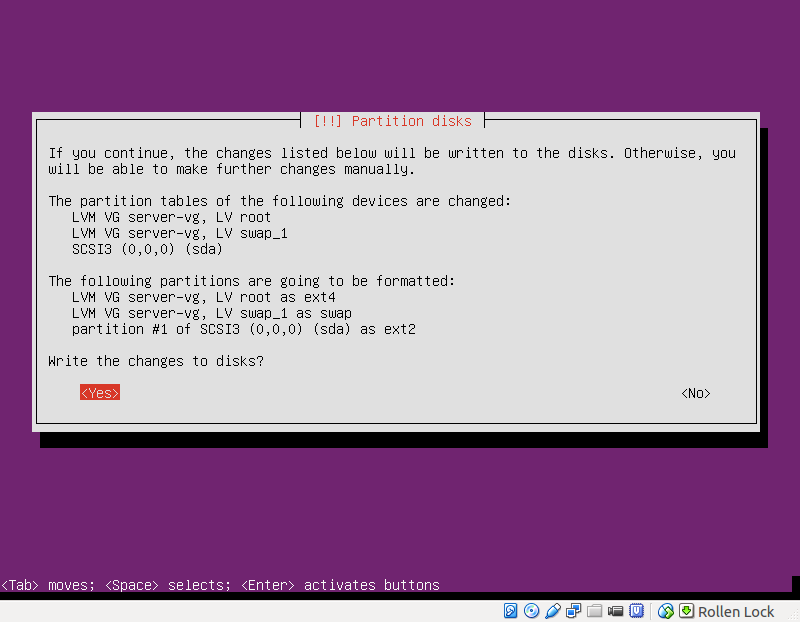
Step 17 of 24: Create filesystem on disk:
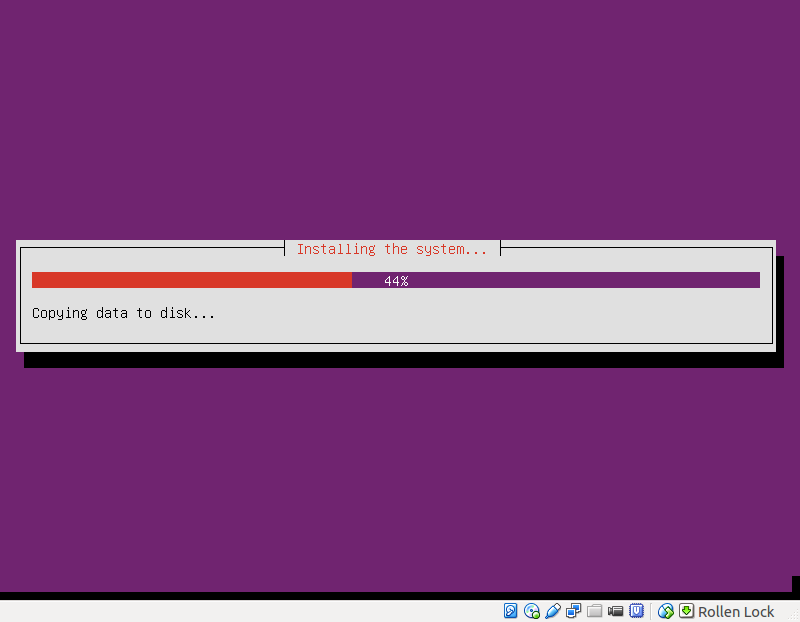
Step 18 of 24: Installation starts …
This step will take about 5 minutes to complete
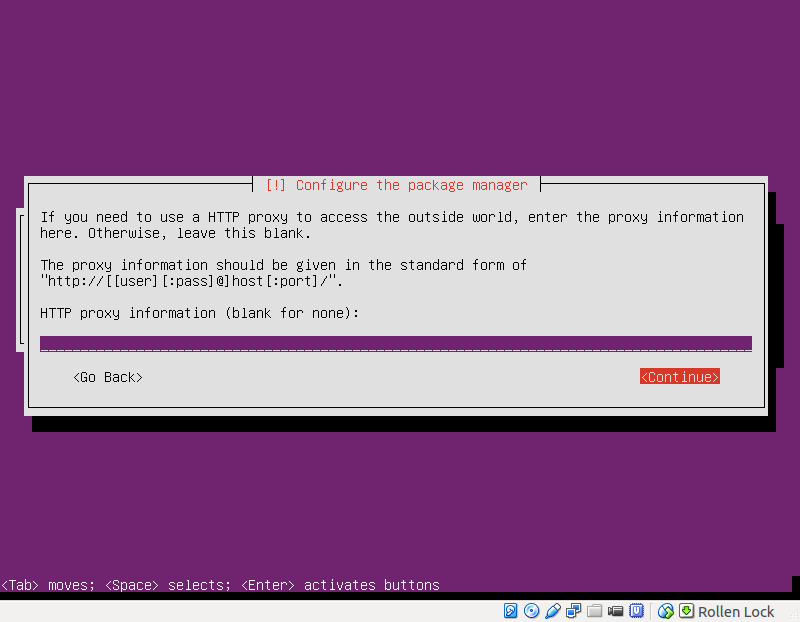
Step 19 of 24: Set a proxy for internet access:
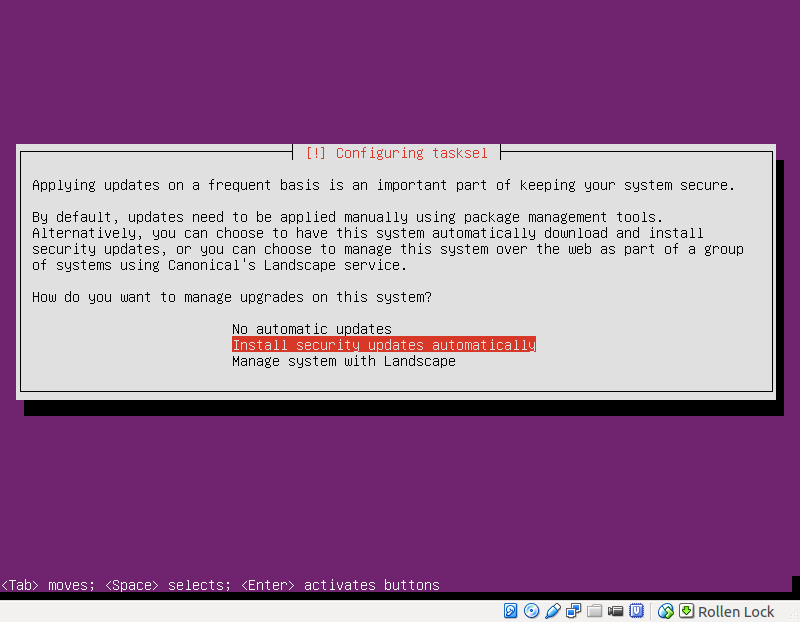
Step 20 of 24: Security updates installation:
Step 21 of 24: Select “OpenSSH server” for installation.
Don’t select anything else for the moment.
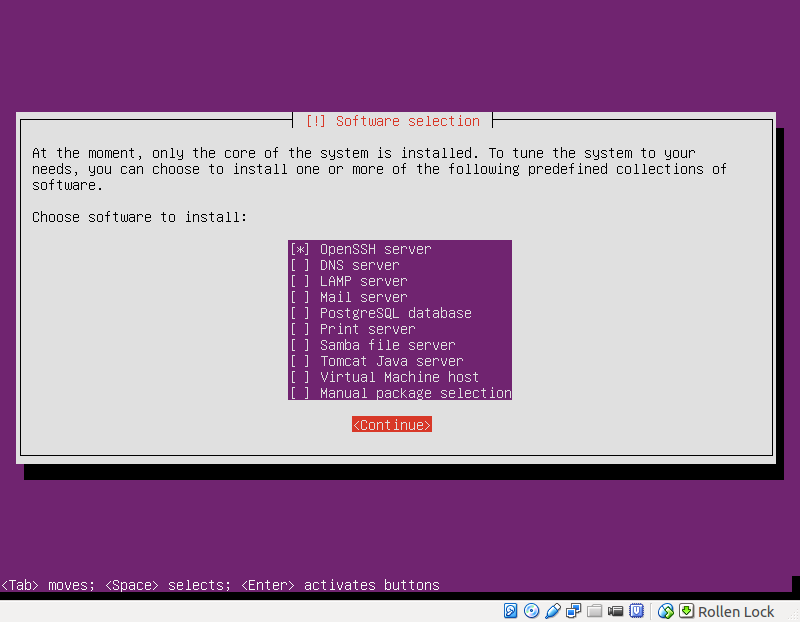
This step will take about 15 minutes, where software packages are downloaded and installed.
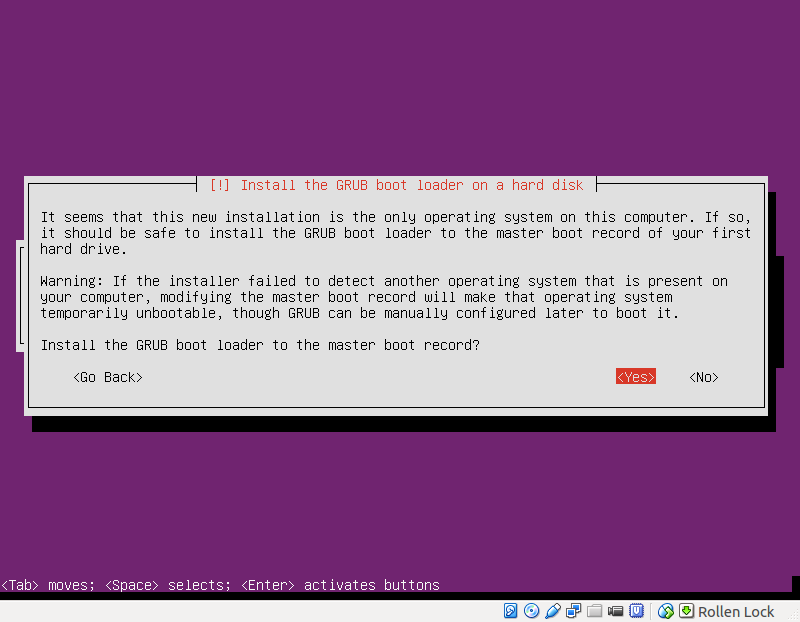
Step 22 of 24: Install boot loader:
Step 23 of 24: Reboot server:
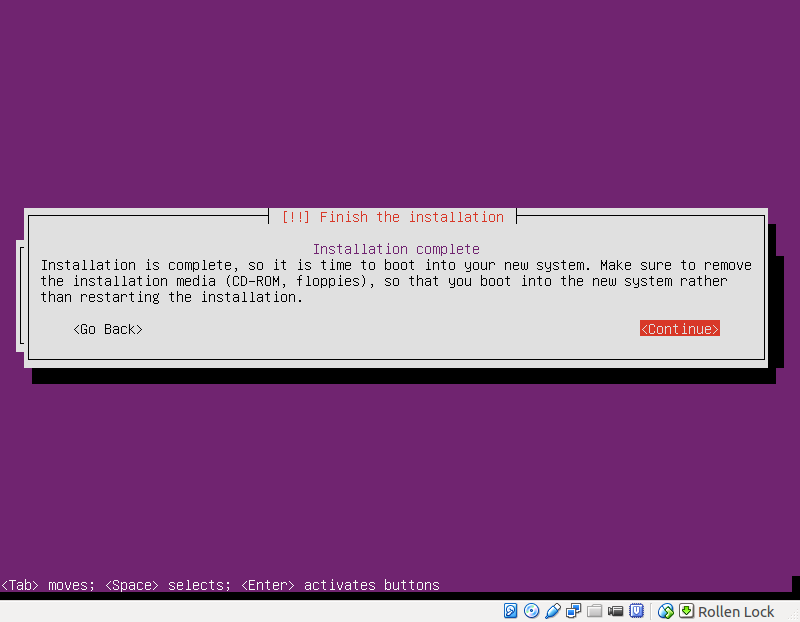
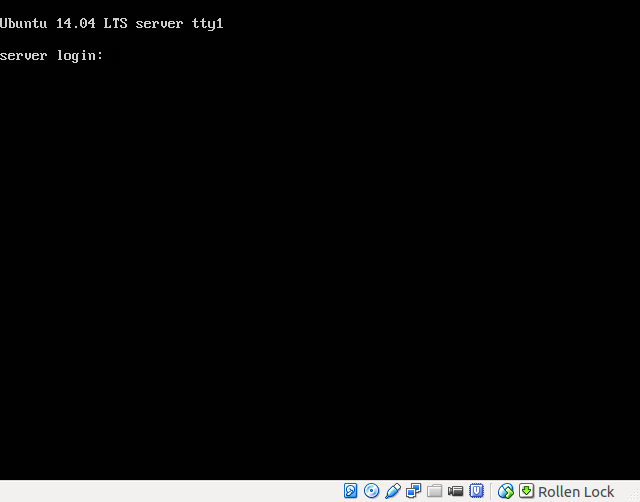
Step 24 of 24: Ubuntu Server Installation is complete, the server is installed and ready.
Connecting to the Server
You should now be able to connect from your desktop system to your newly installed Ubuntu Server.
$ ssh <servername>
The authenticity of host 'server (192.0.2.235)' can't be established.
ECDSA key fingerprint is 1e:34:d6:85:78:17:66:17:ad:62:45:05:fa:18:9d:a7.
No matching host key fingerprint found in DNS.
Are you sure you want to continue connecting (yes/no)? yes
Replace <servername> with the name you gave to your server and type in yes to confirm, that is indeed a new server.