Serial Console
Servers typically don’t have screens, keyboards and mouse attached. During normal operation we access the server over SSH.
However there is an ancient way of accessing a server console, without any network involved. Its still has some benefits today:
If the serial connection leads to another system which is remotely accesible, you can use that to control the server, as if you where sitting in front of it with a keyboard and display attached.
If multiple servers connect their serial lines to one client device, that client device can control as many servers, as it is able to connecct.
Some network equipment (i.e. switches, routers), lack possibilities to connect keyboards and displays.
A serial cable is a lot cheaper then an expensive KVM (keyboard-video-mouse) switch, it also needs less space and power.
More modern remote management technologies embedded in todays computers may be available but only usable with expensive and or proprietary software or service subscriptions from their manufactures (i.e. Intel Active Management Technology). They also might com with their own security problems or might even be considered to be a backdoor.
Required Hardware
You need a crossed-over RS-232 cable, commonly known as null modem cable. Choose the one according to your available connectors on both of your devices.
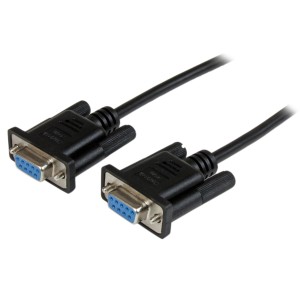
DB9 Female to Female - 9 pin RS232 Null Modem Cable
If both still have classic COM Port available, you need a null-modem (cross) serial cable with sub-D9 pin female connectors on both ends.
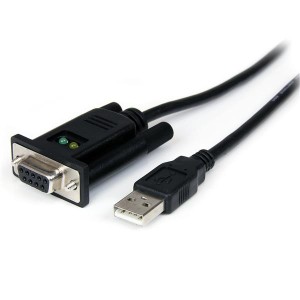
USB to Serial RS232 DB9 Female Null Modem Adapter
Modern computers have less classic serial connections but USB is common. If one side still has the classic RS-232 DB-9 pin port but the other has not, use a USB to RS-232 female adapter.
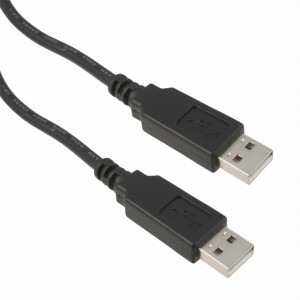
USB-A to USB-A Null Modem Cable
If both computers have USB but none has a serial port. Use a FTDI USB-NMC-2.5M.
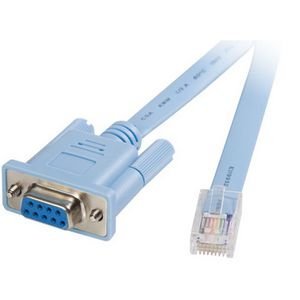
RJ45 to DB9 Female Serial Console Cable
Also known as “Cisco Console Cable”.
Some network equipment use a RJ45 for serial connections.
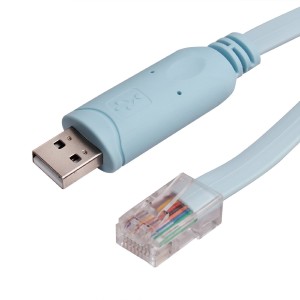
RJ45 to USB Serial Console Cable
The above is available as USB adapter too.
Serial Connection Parameters
Both side must agree on the same speed and parameters for a connection to be established securely.
Baudrate |
115200 (max.) |
Databits |
8 |
Parity |
None |
Stopbits |
1 |
Server Side Setup
What we call “the server” here, is the computer who is to be controlled by the serial connection.
Server Device Serial Port
COM Port |
COM1 |
GRUB Serial |
Unit 0 |
Linux Device |
|
GRUB Configuration
The Grand Unified Bootloader commonly known as GRUB is responsible for loading Linux.
Here is how we setup GRUB to use the serial console.
Open the file /etc/default/grub and change or add the following lines:
Show a 10 seconds countdown before booting Linux:
GRUB_TIMEOUT_STYLE=countdown
GRUB_TIMEOUT=10
Setup GRUB to use serial port COM1 (unit=0) as terminal with the agreed upon parameters:
#GRUB_TERMINAL=console
GRUB_TERMINAL_INPUT="console serial"
GRUB_TERMINAL_OUTPUT="gfxterm serial"
GRUB_SERIAL_COMMAND="serial --unit=0 --speed=115200 --word=8 --parity=no --stop=1"

# Uncomment to get a beep at grub start
GRUB_INIT_TUNE="480 440 1"
Linux Kernel Configuration
After GRUB has successfully started Linux, the Linux kernel is loading.
Here is how we setup the Linux Kernel to use the serial console:
Setup the Linux Kernel to use the serial port COM1 (ttyS0) as a system console.
Also in the file /etc/default/grub change the line GRUB_CMDLINE_LINUX:
GRUB_CMDLINE_LINUX="console=tty console=ttyS0,115200n8"
These kernel parameters have the following format:
console=ttyS<serial_port>,<speed><parity><data><flow_control>.
Update Boot Partition
Any changes need to rebuild the GRUB configuration in the /boot/ partition:
$ sudo update-grub
Linux Runtime Configuration
On modern Linux systems systemd automatically will start a serial console service, if a serial console has been detected during boot:
$ systemctl status serial-getty@ttyS0.service
If not, or if you somehow prefer to use a different COM-ports after the boot process completed:
$ sudo systemctl enable serial-getty@ttyS1.service
$ sudo systemctl start serial-getty@ttyS1.service
Client Setup
This is the computer which is connected to the server by the serial cable and is used to control the server.
Client Device Serial Port
COM Port |
USB |
GRUB Serial |
n/a |
Linux Device |
|
Install a serial console program:
$ sudo apt install minicom
Add yourself to the dialout user group, for access rights to any serial ports:
$ sudo usermod -a -G dialout ${USER}
Connecting
Connect using the following coomand:
$ minicom --device /dev/ttyUSB0 --baudrate 115200 --color=on